The creative journey....


Tuesday 19 November 2013

Handmade Lampshades 30cm Drum

Unique Bespoke Hand Printed Lampshades

I have been printing and designing on fabric with my linocut designs and wanted to use my own hand printed fabric to make a lampshade. Having searched the Internet it was becoming pretty clear that making lampshades is a very guarded affair. I'm not totally sewing illiterate but there are certain specifics which really help when venturing into making your own bespoke lampshade. So I hope this blog post gives you some useful tips when getting started...


YOU WILL NEED:

1) Lampshade parts- either bought separately or in a kit via Need Craft/Amazon
2) Fabric of your choice- at least a meter long for a 30cm drum shade.
3) If you have a fabric which frays I recommend a binding webbing tape which can be bought in all colours and sizes- it's not an actual tape but lovely woven strips of cotton for seams.
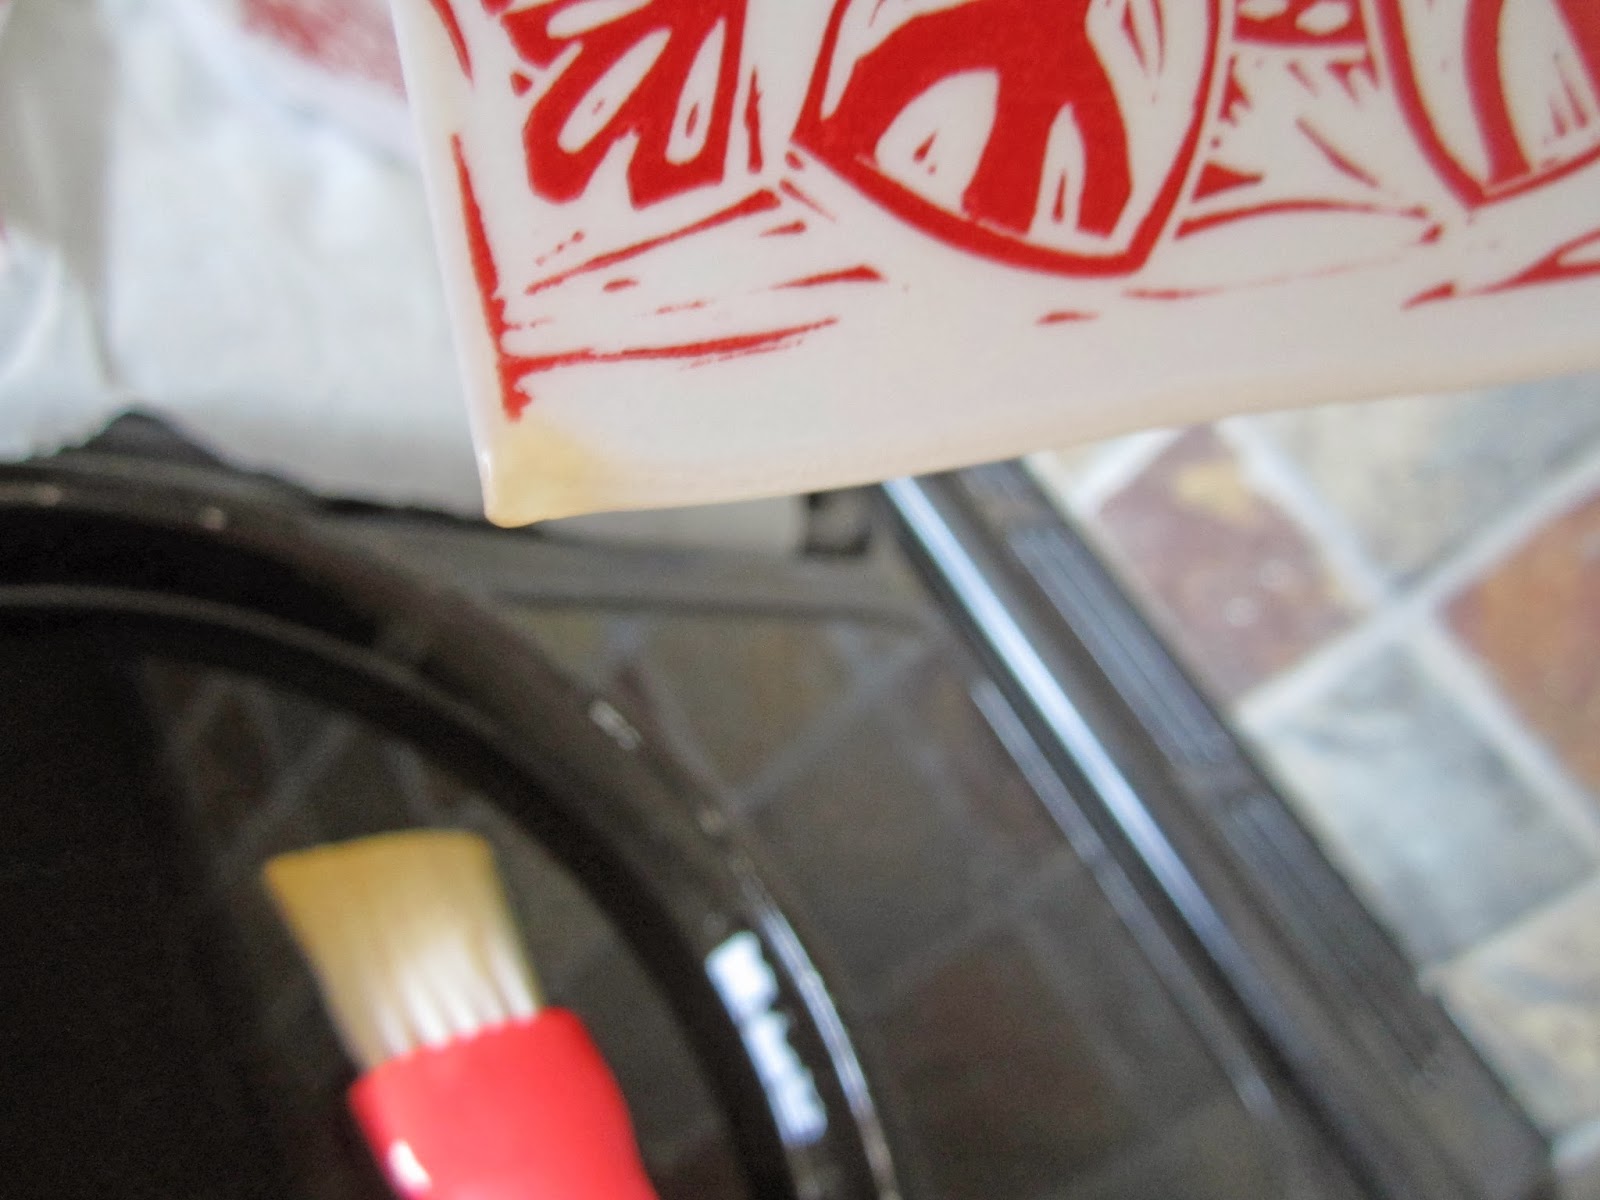
4) Fabric glue- general purpose is fine.

Notes on fabric choice...
I chose a natural cotton canvas fabric and linen.  Beautiful to print on and you can use oil based printing ink which when dry is permanent. If it is your first lampshade go for a basic pattern as you could find difficulties when cutting straight lines and matching up the seams and fabric direction- start simple at first.

SEE PREVIOUS BLOG POST ON PRINTING THE FABRIC, ensure you measure the amount needed which is roughly 100cm in length and 25cm in width.
Ironing the fabric after printing as well as before will help 'cure' the ink.

When you have printed the fabric ensure your design stays within the allocated measurements for the lampshade allowing for seams and when it is dry you are ready to add the self adhesive backing which comes with the kit- there are other ways to make your fabric rigid but the PVC backing provided is really strong, fire retardant and easy to use.

TIPS
*If like me and don't do straight lines very well or in general draw on the back of the fabric a straight line so that when you roll out your backing it will stay straight and not go 'wonky!'

*Tape your fabric to the table so that when you stick on the backing it won't curl up.

*If your fabric frays once you have cut it to size paint a thin layer of PVA on the edge to minimise the fraying.


If you can not see where your design is when adding the backing fold the fabric until you can see your design and fold, this will leave a visible crease in the fabric that you can make sure you cover with the backing.


When backing is added the fabric is rigid and extremely durable. Smooth and make sure there are no creases in the fabric. If you buy a kit it gives you instructions on how to add the tape and the metal rings, it gets a little awkward adding the rings but not too bad.

This is the part that can make the lampshade look really high quality and well finished...The hand rolled edge and neat seams.

I add the webbing tape along the hand rolled edges as it adds a really lovely and neat finish along the seams. Using the double sided tape and glue on the inside it is a great way to attach the binding tape and looks great when finished.
Before the binding tape was added.
The finished lampshade: This is listed in my Etsy and Folksy shops:
https://www.etsy.com/uk/listing/168623695/handmade-hand-printed-lampshade?ref=shop_home_active


Personalised lampshades:

Monday 11 November 2013

Hand Printed Fabric- Relief Printing

Block Printing on Fabric Update:


I have been using my lino print designs to print directly onto fabric. Cotton and linen in it's natural form looks great combined with the images and prints really well. I wash the fabric first to remove any anti-creasing coatings that can be on the surface of the fabric.

Before printing iron the fabric (linen is notorious for creasing so use plenty of steam!) It looks like I haven't bothered in the photo but believe me I did! More ironing once the ink is dry! Typically my iron has never seen so much action so now has decided to give up!

Having tested the permanency of the oil based inks on the fabric by leaving the ink to dry, ironing and then putting through the dryer for 10 minutes it has survived the washing machine test at a 40 degree wash.

Speedball do an ink especially for block printing onto fabric currently available at Intaglio Printmakers in London. Added to my Christmas wish list!

The Fish Tea Towel coming soon to my Etsy shop:
Tea Towel is a big as my son! Arms up son!

Next blog post will give you a sneak peak into my lampshade making tips from hand printed fabric...

Thanks for reading :)

Sunday 10 November 2013

The Great Cornish Food Book

A new book showcasing the brilliant cuisine that Cornwall has to offer. Includes some of Cornwall's best local produce and where to find them. I had the privilege of being part of this great project producing the illustrations for the book. If you would like to find out more or grab your own copy they are being stocked locally or you can purchase them online via the Cornish Food and Drink website.

See link below:

Wednesday 6 November 2013

How To Make Hand Printed Wax Bunting

Things you will need:

* Wax Pellets- available online at good old Amazon.
* Paper about the thickness of cartridge or something similar.
* Ink (I'm using an oil based but you can use water based)
* Lino/vinyl and cutters
* Rollers
*Something to burnish the print- spoon or barren.
*Old Tin/pan
These are just my suggestions it you find a better way then please share :)

That's the way to do it: Christmas Bunting...

1) Begin by drawing and carving your design that you would like to print. Each flag on my bunting measures about 14cm square.

2) Once you have decided and mixed your colours you can begin rolling out evenly and applying an even layer to the linoleum.
 
Do you like my chopping board?

3) Place the paper on top of the lino or vinyl and if you don't have a press or one of these...( a car jack press)

 then something like this will do; spoons, disc barren or even a heavy smooth object like my glass candle can work a treat...


A Note on Paper for bunting- I wanted to use as thin as possible but having tried rice paper once the wax was applied I found it folded easily resulting in cracks in the wax. I bought some recycled A4 paper which still has slight transparency about it whilst being thick enough to produce a more robust result.

4) A bit of elbow grease later...
5) Waxing:
I melt wax pellets on my hot plate! (Very glamorous!)  Yes in an old baking tin, it's shallow enough so I can melt a little at a time...
It's worth mentioning when I cut the images ready for hand waxing I leave surplus at the bottom edge and a little paper corner as a handle- then there is no need for tongs and the little drips that collect at the bottom can be tidied up once dry by cutting off.  I found painting the wax on very messy and not an even result, therefore DIPPING  the image into the wax gives a lovely even coat with very little mess.
If the wax is too hot it will re-open the ink and cause it to smudge, too cool and it will not coat the paper properly, it's a bit trial and error so best test with a scrap piece first. If you don't have a hot plate you can use a wax melting pot which is specially designed for this job, I tend to turn the hot plate on and off so it doesn't over heat- obviously I recommend using something especially designed for melting wax- but I have to say that for safety reasons! ;) Please stay safe!

I use the brush to dab the image to ensure it is fully submerged in the wax and have grease proof paper next to the tin so once the wax finishes dripping you can place the newly waxed flag down to finish drying.

So there you have it, I hope this inspires you to have a go at making your very own unique waxed bunting, now where's the mulled wine and minced pies!


These images are also available as Christmas cards in my Etsy shop. Over the next few months I will be developing my designs onto other items such as fabric so I will try and document my progress. Wish me luck and thanks for reading,
Happy Printing

Dawn Sheridan :)